
This post has been updated to ensure information and shopping links are current.
Welcome to Newbury Home! This is your source for timeless home decor, gardening tips, and elegant living on a budget.
If you’re new here, welcome! I’m Sasha. My husband, Matt, and I have slowly been renovating and decorating our Victorian home, while trying to maintain its historic charm. For this One Room Challenge, we renovated our dated guest bathroom.

The following content may contain affiliate links. When you click and shop the links, I receive a small commission.
Thank you for joining me on the journey to complete our guest bathroom renovation in the next eight weeks for the One Room Challenge! If you’re new here, I’m Sasha. My husband, Matt, and I purchased our turn-of-the-century Victorian home almost two years ago, and we have been slowly renovating it ever since.
In case you missed it, here is the post from week one!
Gathering the Materials
Coming up with a vision for the room was fun and easy. The logistics of finding materials to fit that vision, while staying within our budget proved to be a bit more difficult. As I mentioned in my last post, we are trying to keep the vintage feel of the room. Unfortunately, reproduction vintage bathroom fixtures do not come cheap, especially in the brass finish we desired, so it took countless hours of scouring the internet & local shops to find options that would work.


What we’ve purchased so far & where we’ve sourced it:
- Shower system – Build.com
- Mirror – Local antique mall
- Shower drain & overflow – Build.com
- Sink taps – Build.com
- Brass piping & valves for sink & toilet – Build.com
- Toilet – Build.com (purchased at showroom)
- Grey Dolomiti marble tile – Local supplier
- Fabric – eBay & Fabric.com
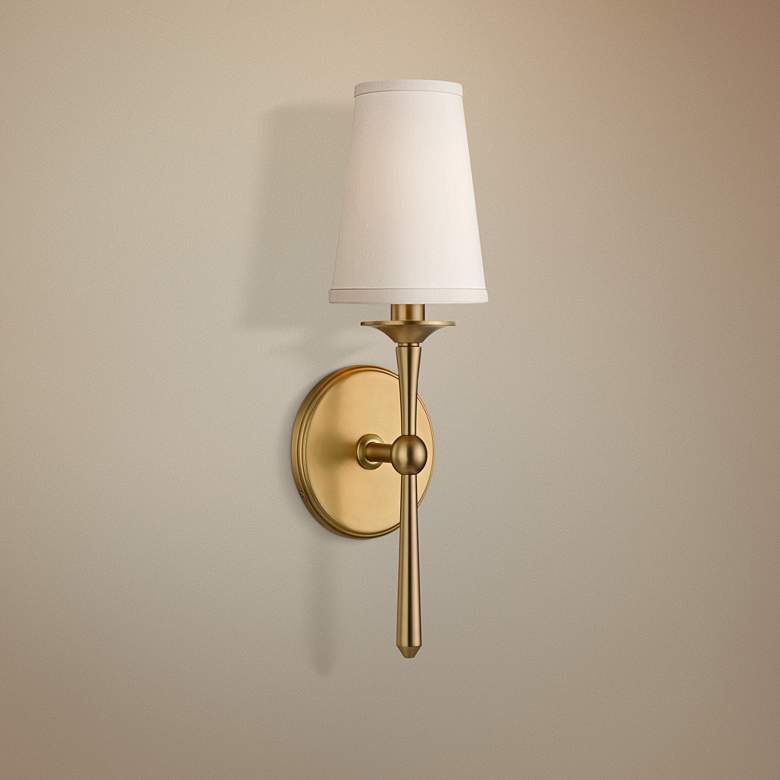
- Sconces – Lamps Plus
- Paint – Local Benjamin Moore
- Trim – Home Depot


What we still need to purchase:
- Rug
- Shower rod
- Storage
- Hooks & towel rods
- Towels
- Sink drain
- Decorations
- Hardware
What we accomplished this week
Over the weekend, we finished 95% of the tiling, which was incredibly exciting! I have to say, tiling was much more enjoyable than putting up the Schluter waterproofing membrane.
As you may know if you have been following along on my Instagram stories, I am a bit torn as to how far up the wall I would like the tile to go. The trim will come down approximately 2.5″ from the ceiling once it is installed. What do you think – should we add another row or just add the bullnose? I would love to hear what you would do because I am having such a difficult time making the call. Please excuse the mess in the pictures!


I will be sharing more throughout the week via Instagram stories so please join me there as well. Make sure you check out the other One Room Challenge participants here. Good luck to everyone with your renovations.
See you next week!

Read All of My One Room Challenge Posts
Week 1 | Week 3 | Week 4 | Week 5 | Week 6 | Week 7 | Week 8


